Compiled by Kim-Lee Loggenberg and Tiina Liebenberg
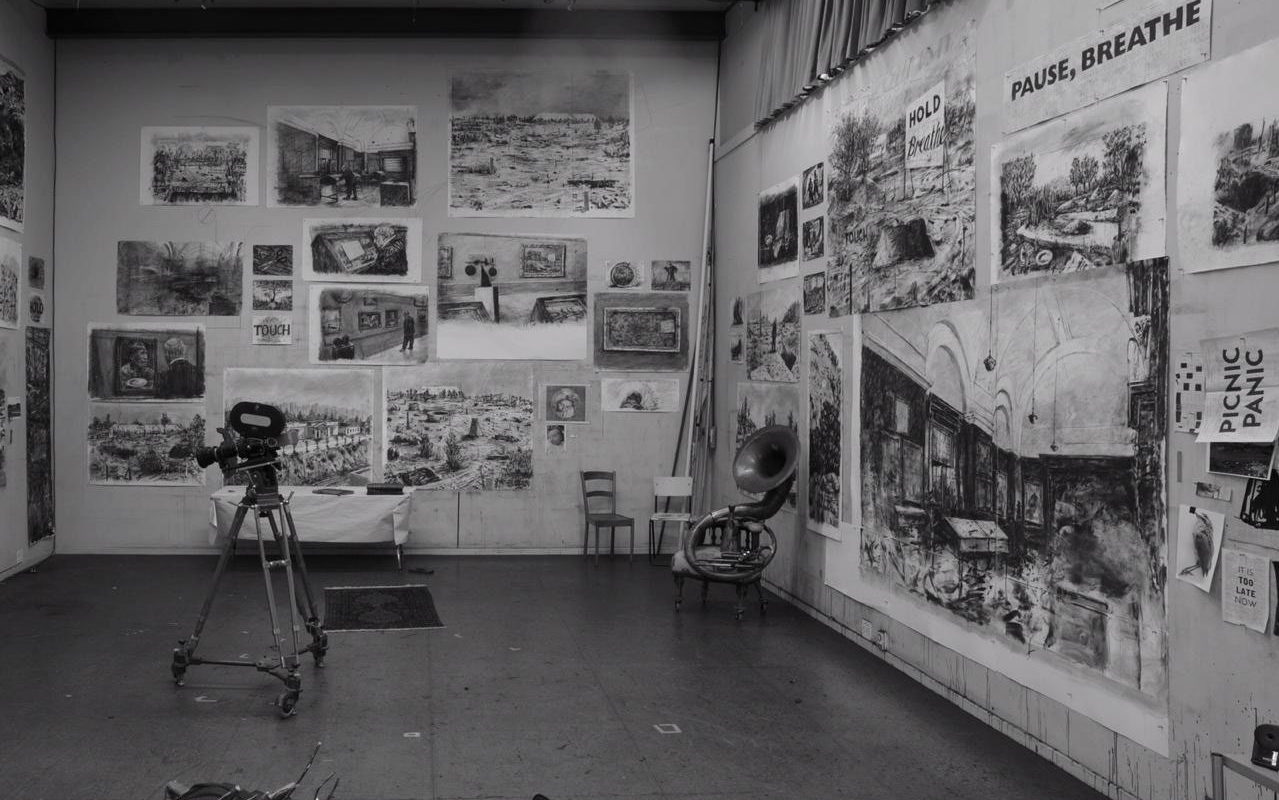
In 2020 William Kentridge began creating a series of short episodic films entitled Studio Life. The films, which document Kentridge’s time in his studio during South Africa’s Covid-19 quarantine period, give viewers a glimpse into the artist’s thoughts, work-processes and life in the studio. Each photogravure relates to a film, taking on different vantage points on Kentridge’s studio and practice. To date seven photogravures have been completed, they have been editioned by Kim-Lee Loggenberg at the David Krut Workshop. The works are titled Studio Life: Laocoön (2021), Studio Life: Third Angle Projection (2021), Studio Life: Exercise 2 (2021), Studio Life: Exercise 1 (2021), Studio Life: Blackboard (2021), Studio Life: Felicia, Ida, Felicia (2020) and Studio Life: The Philips Room (2020).

The making of the photogravures, managed by master printer Jillian Ross, is the coming together of the platemaking expertise of master printer Zhané Warren, of Warren Editions and the editioning finesse of printer Kim-Lee Loggenberg of David Krut Workshop. The process of making a photogravure plate is highly technical and requires not only expertise and skill but also specialised equipment that can accommodate the process.
Briefly defined, photogravure is a labour intensive photomechanical process of etching a photograph onto a copper plate through tonal values (aquatint) which creates half-tone images. This makes tone an indispensable characteristic of the photogravure and aquatint a fundamental technique in this printing process.
The etching of a photograph onto a copper plate allows for rich tones as well as an incredible amount of detail characteristic of a photograph. The tonal range of the photograph records in the immediate surface of the copper as depths, ranging from shallow to deep pits. Once etched the plate is wiped and printed the same way as a traditional etching plate and can therefore also be editioned. Additionally, there is potential for the artist to work directly onto the plate, for printing with many ink colours, for the artist to choose from a range of different paper types and experiment with differences in the wiping of the plate – all of these Kentridge explored further in the photogravures produced in 2021.
Photogravure affords Kentridge the benefits and best traits of both photography and intaglio; and Kentridge is already familiar with photogravure having used it in previous projects including Zeno Writing, (2002), Zeno II, (2003) – both published by David Krut – and Receiver, (2005), amongst others.
Here follows a step-by-step process on how a photogravure plate is made for Kentridge’s Studio Life photogravures:
Step 1
In the case of Studio Life: Photogravures each photogravure begins as a digital photograph taken in the Kentridge’s studio either by Kentridge himself or Chris-Waldo De Wet – Kentridge’s Johannesburg studio production manager. Once Kentridge decides on the image he would like to have made into a photogravure, a high-res tiff file of the image is sent to Zhané Warren for processing.
Step 2
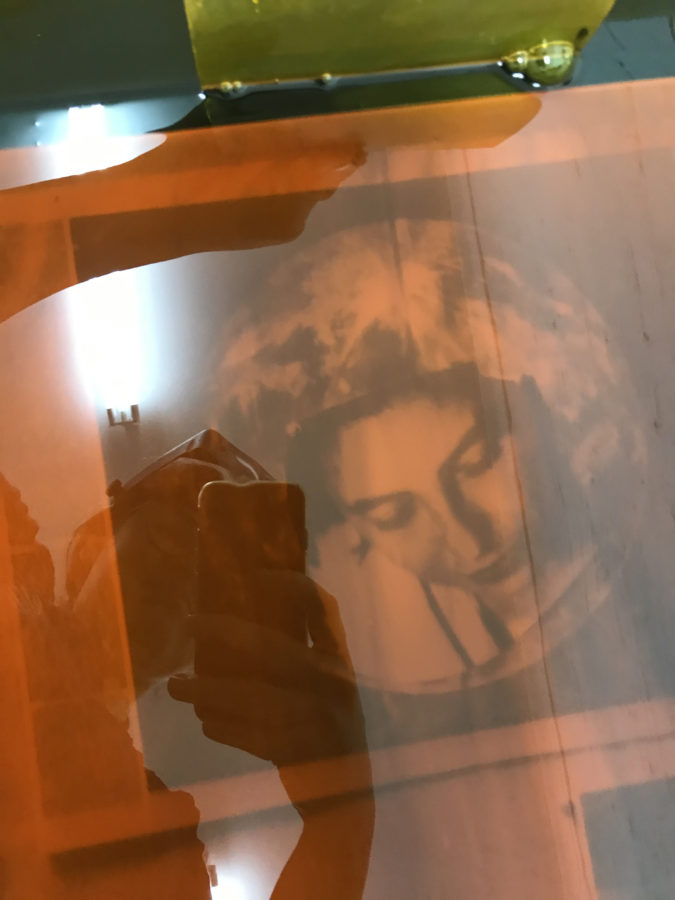
The photo file is prepared in Photoshop for the purpose of making a high-quality transparent continuous tone positive specifically for photogravure. The positive is digitally printed onto a transparent plastic film.
Step 3
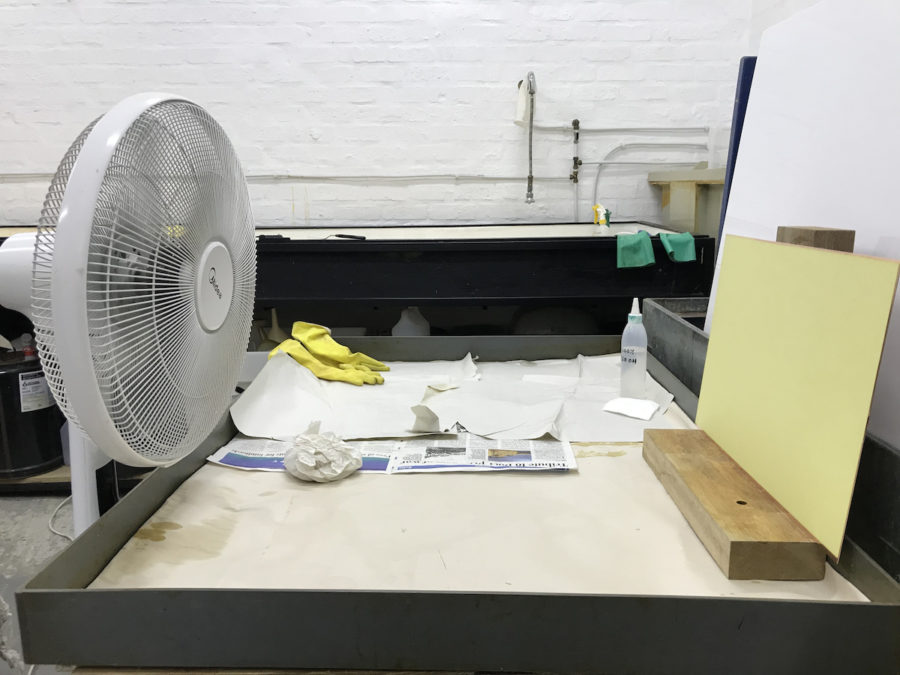
The studio environment plays an important role in the creation of a photogravure. An average of 60% relative humidity and 21 degrees Celsius being the ideal. All materials also need to be stored correctly, with the key material of pigmented gelatin tissue always needing to be stored in the fridge.
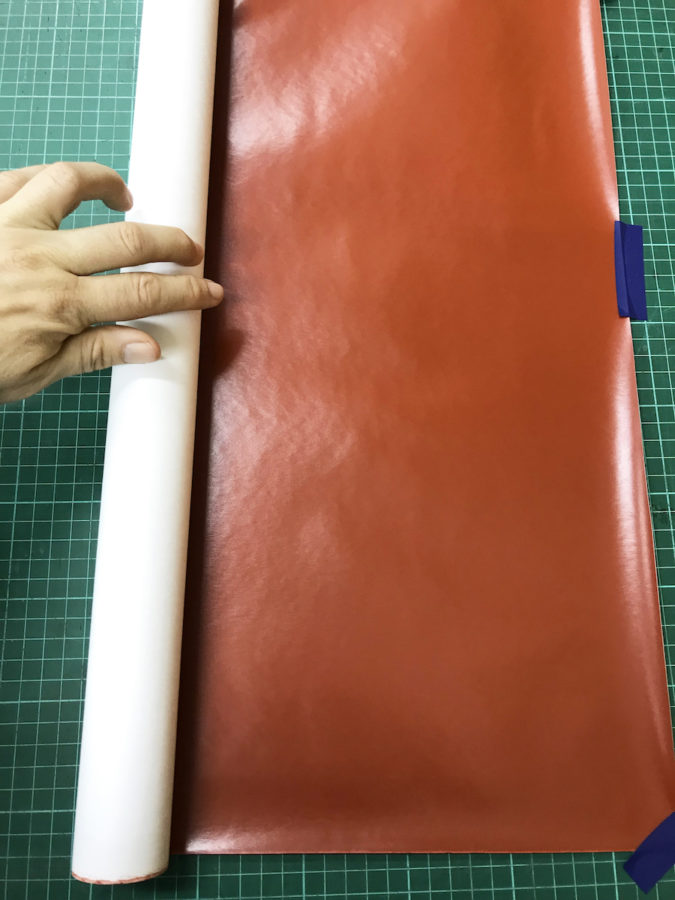
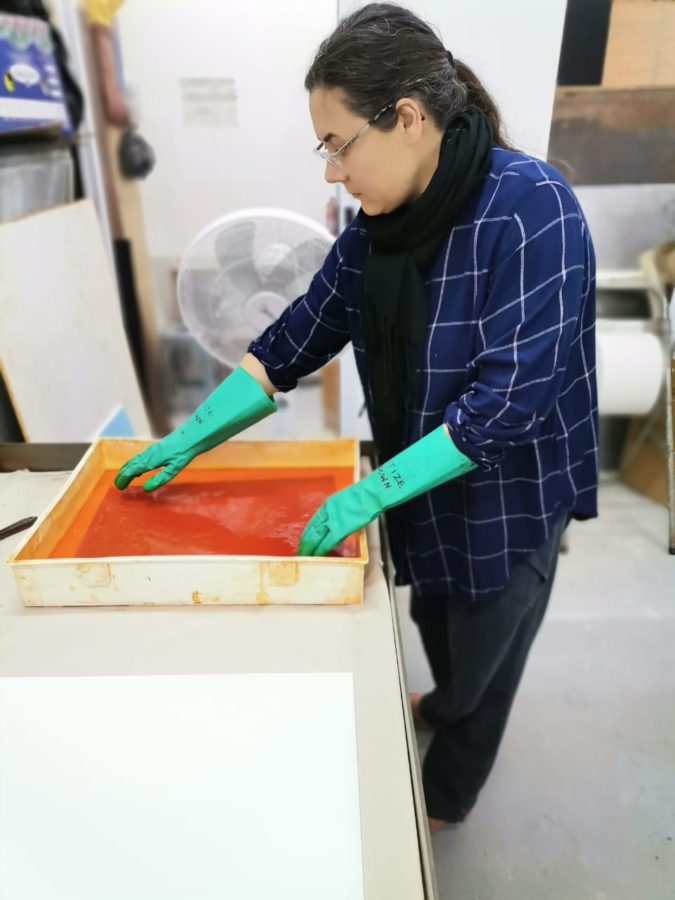
Potassium dichromate is used to make the gelatin UV light sensitive. In the creation of the photogravure plate, a sheet of gelatin tissue is soaked in tray of cold 4% potassium dichromate for a timed period, making the gelatin UV light sensitive. The gelatin tissue is then squeegeed face down onto clean plexiglass and a fan directed at the squeegeed gelatin tissue to allow for the even drying of the backing paper and gelatin which ultimately results in a smooth, flawless surface. After about 90 minutes the gelatin tissue is dry, and the sheet is peeled off the plexiglass. Now the gelatin is ready to be exposed to a continuous tone positive.
Step 4
Inseparable from photogravure is the use of UV light. In the next step of creating a photogravure, a continuous tone positive is exposed to light-sensitive pigmented gelatin tissue using UV light. For the Studio Life photogravures an aquatint screen was exposed to the UV light before the continuous tone positive, allowing the UV light to penetrate the entire surface of the gelatin. The action of the UV light on the gelatin increases the melting point of the gelatin, hardening the gelatin tissue to various thicknesses in relation to the tonal areas on the positive.
Step 5
Once exposed, the image-carrying gelatin tissue is adhered to a copper plate. Before the laydown of the gelatin tissue onto the plate, the gelatin is soaked in diluted isopropyl alcohol. The bonding is facilitated by squeegeeing the gelatin face down onto a copper plate and letting the backing paper and gelatin dry against the copper for about 20 minutes.
Step 6
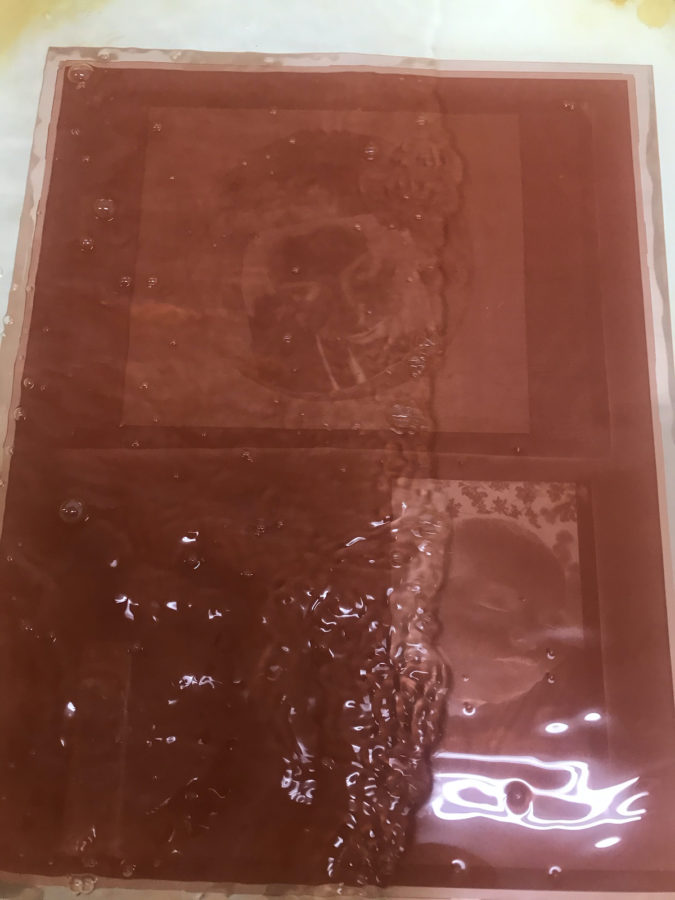
Once the moisture has evaporated from the backing paper the plate is developed in hot water to remove unhardened, excess gelatin before etching. 100% isopropyl alcohol is rubbed onto the backing paper to allow for the capillary action of the water through the backing paper once the gelatin is in the hot water. The gelatin is soaked in 45 °C for about 2 minutes, after which the backing paper is peeled off from the gelatin. Remaining on the copper is a thin membrane of gelatin, which is placed in cold water to set the gelatin.
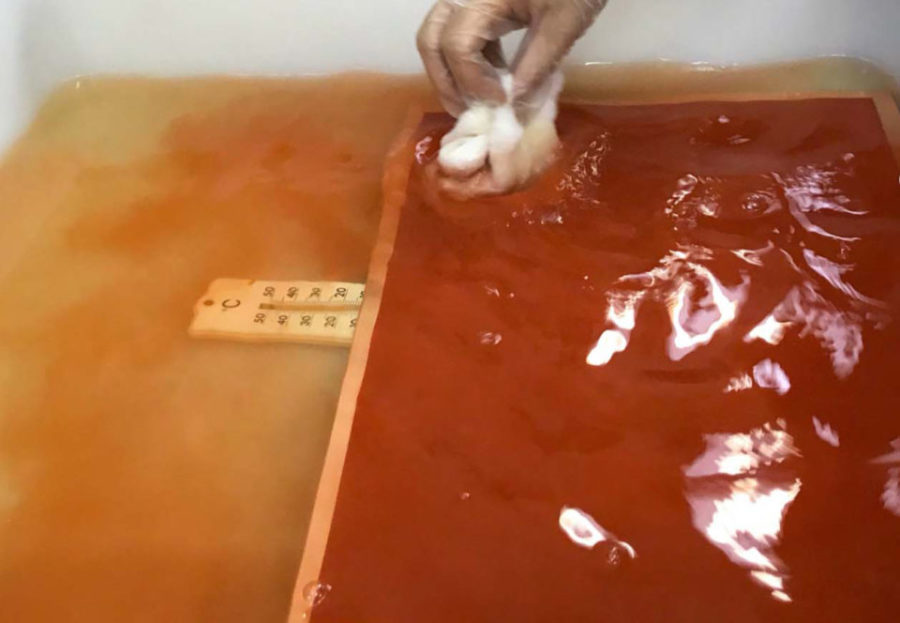
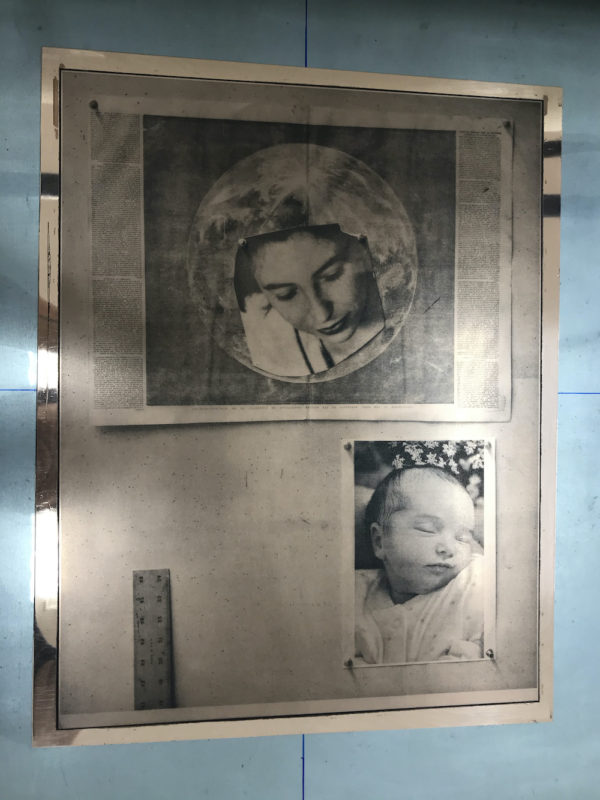
The pigmented gelatin tissue developed in hot water. The purpose of developing the gelatin tissue is to wash away the unhardened gelatin.
Step 7
During this focused step, a lot can go wrong if not done correctly. The copper with the gelatin is submerged into isopropyl alcohol to displace the water contained in the gelatin. Thereafter the gelatin is dried immediately with high-speed hot air from a hairdryer and fanned to force the fast evaporation of the isopropyl alcohol and to achieve a gelatin tissue devoid of mottled marks with moisture. These mottled moisture marks will etch
Step 8
For the next 24 hours the gelatin tissue is conditioned in the controlled studio environment in preparation for the etching of the plate. It’s vital that the membrane of gelatin tissue is acclimatised to the studio environment. Moreover, the thickest areas representing the light tones and whites must be given an extended time to dry consistently.

Step 9
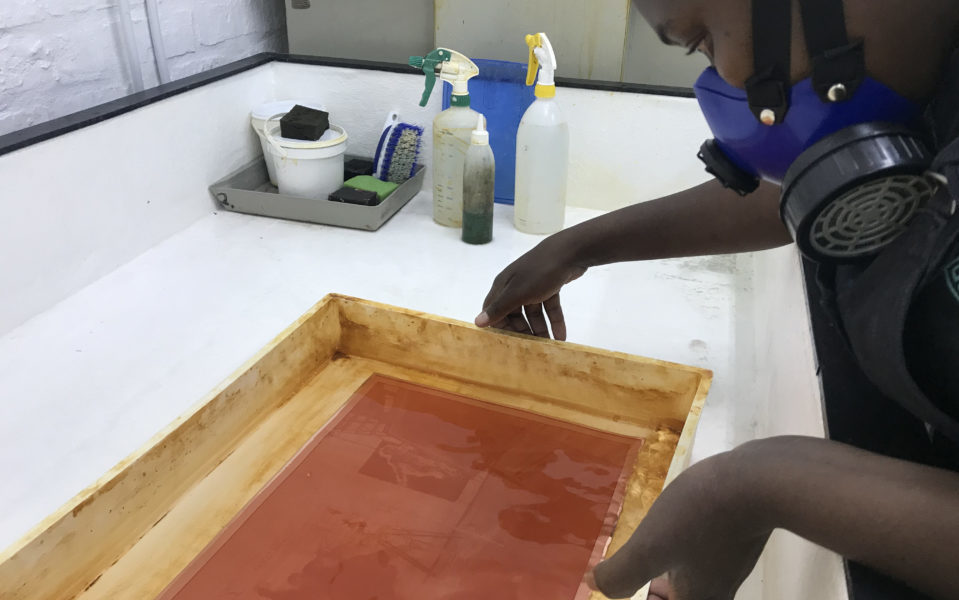
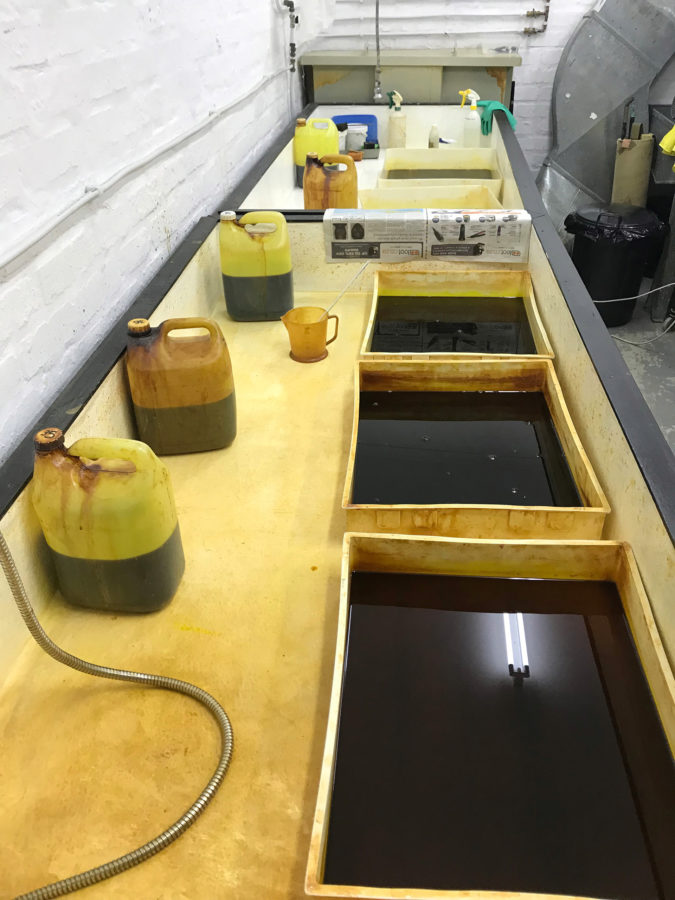
Next, the copper plate with the gelatin tissue is placed in a succession of etching baths. Warren etches the plate in 4 to 5 different strengths of ferric chloride. The gelatin swells from the absorption of the water in the ferric chloride, allowing the ferric chloride to pass through the gelatin tissue to the copper surface. Upon reaching the copper, the ferric chloride proceeds to etch, with the thinnest gelatin tissue etches first, recording the darks and shadows. To progress the action of the gelatin absorbing the water to etch, the plate must be moved along to the weaker ferric chloride baths which contain more water. Through this method the full tonal range is etched until only the spectral highlights in the gelatin tissue remain. The plate is rinsed under water and the gelatin tissue stripped from the plate. To pull out the ferric oxide – a byproduct from the etching – from the pits etched in the plate the plate is cleaned with caustic soda and chalk powder.
Step 10
To continue the cleaning of the plate and the neutralising of the ferric oxide, the copper plate is polished with metal polish. The polishing removes tarnish from the spectral highlights and is used as a means of opening the tones if need be.
Step 11
Warren proofs the plate to ascertain the state of the photogravure plate. If required corrections are made to the plate and the plate proofed again.
Step 12
The copper frame around the etched image is cut off. Thereafter Warren neatens the sides by filing a bevel into the sides of the plate.
Aquatint consists of various depths of bite that represents the wide range of tones. Even though the darks are the deepest of the tones these tones are all shallow. In addition, the copper is a soft metal and so the depth of bite will diminish as the plate is proofed and the edition is pulled. To mitigate the loss of tones, Warren steel faces the copper plate. Steel facing is the electroplating of ultra-low carbon steel onto the copper. Also, the benefit of the steel-faced surface is the ease of wiping the tacky ink. Warren proofs the steel faced plate with various ink mixtures to get an accurate recording of the state of the plate.
Step 13
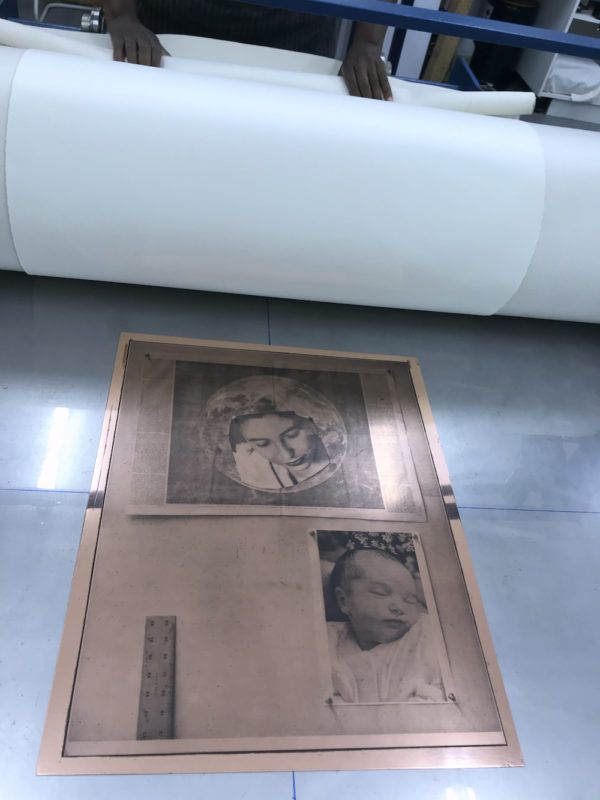
Warren sends the plate and an accompanying proof to David Krut Workshop in Johannesburg.
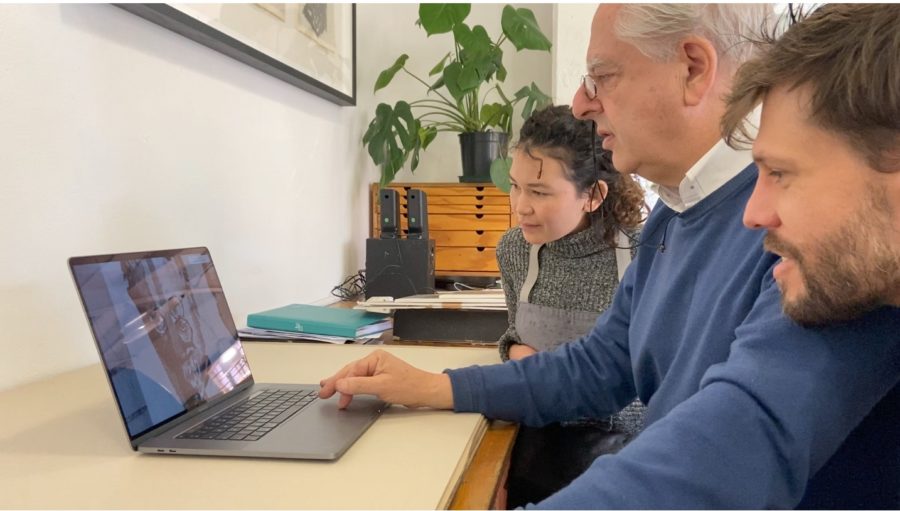
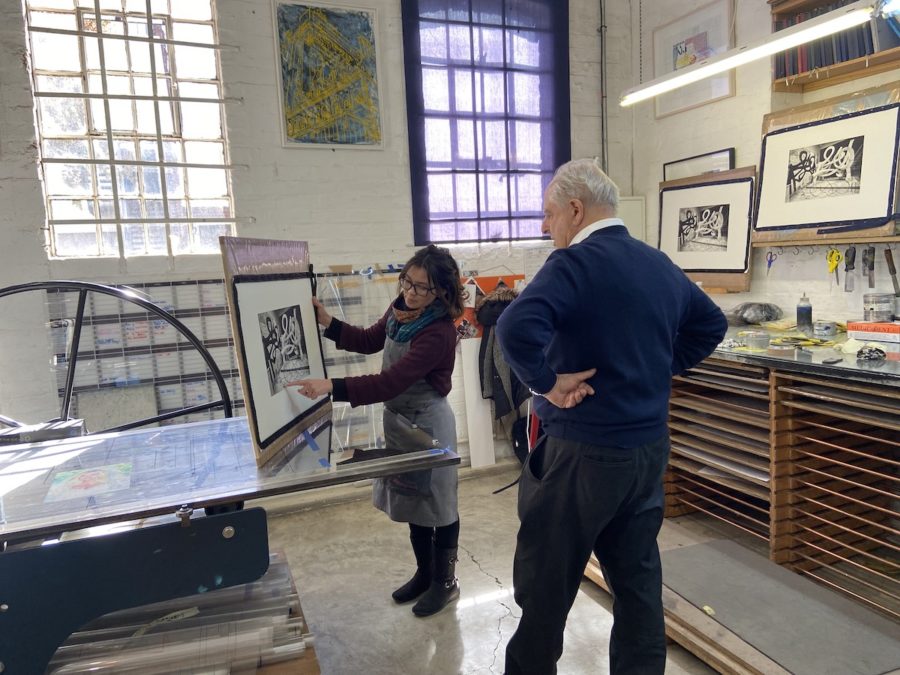
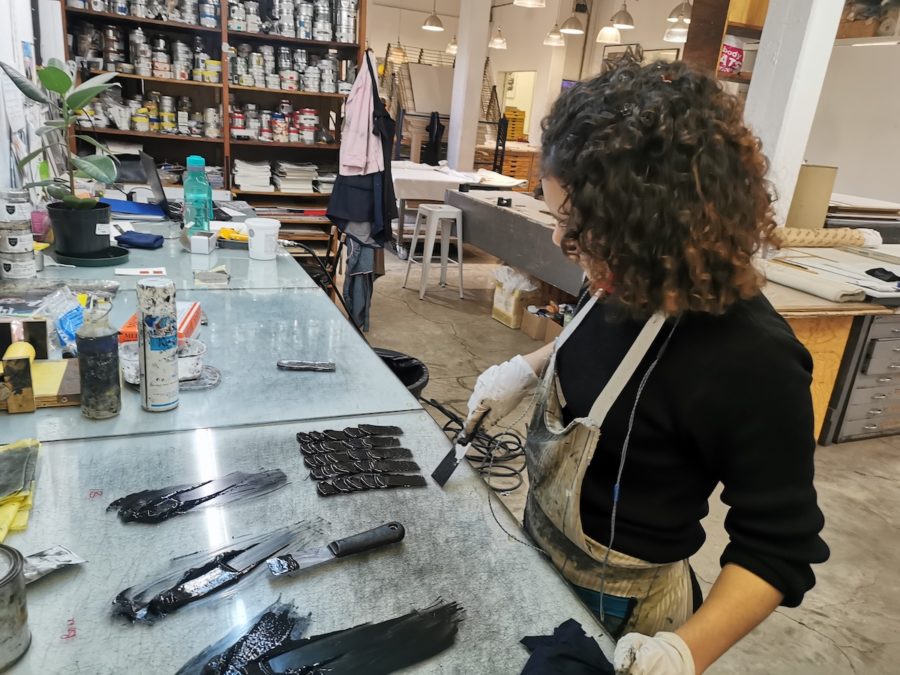
At this stage, printer Kim-Lee Loggenberg does various proofs to show Kentridge what is possible. Loggenberg tests ink transparency, contrast, intensity of highlights as well as whether the print may need added elements such as chine collé. During the proofing process Kentridge is present to make decisions such as whether he would like to alter the plate by adding drypoint or any other intaglio techniques to enhance the image. This is a vital part of the process as it allows Kentridge to add marks and expand on ideas and imagery without needing to make an entirely new plate. Once Kentridge decides on the final proof he signs it as a Bon à Tirer (B.A.T) and Loggenberg prints the edition.
Read more about the Studio Life: Photogravures here.
Photographs and plate making text courtesy of Zhané Warren of Warren Editions, Cape Town.
For a glossary of printmaking terms have a look at our blog:
Tagged William Kentridge David Krut Print Workshop, Jillian Ross, Kim-Lee Loggenberg, Photogravures, Printmaking, Studio Life series