Adult Printmaking Activity with Roxy Kaczmarek


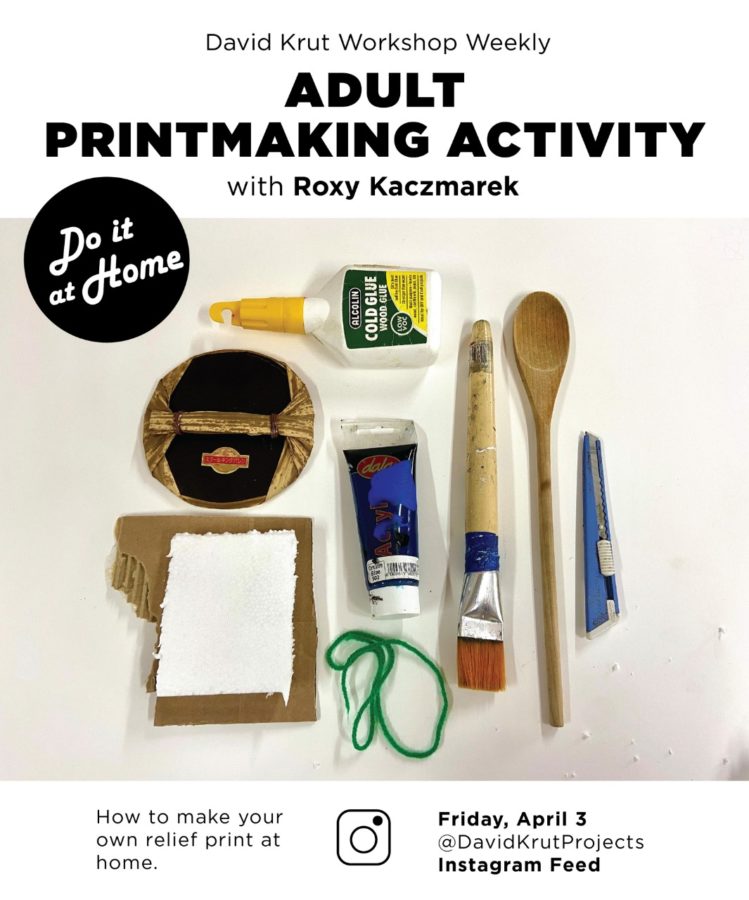
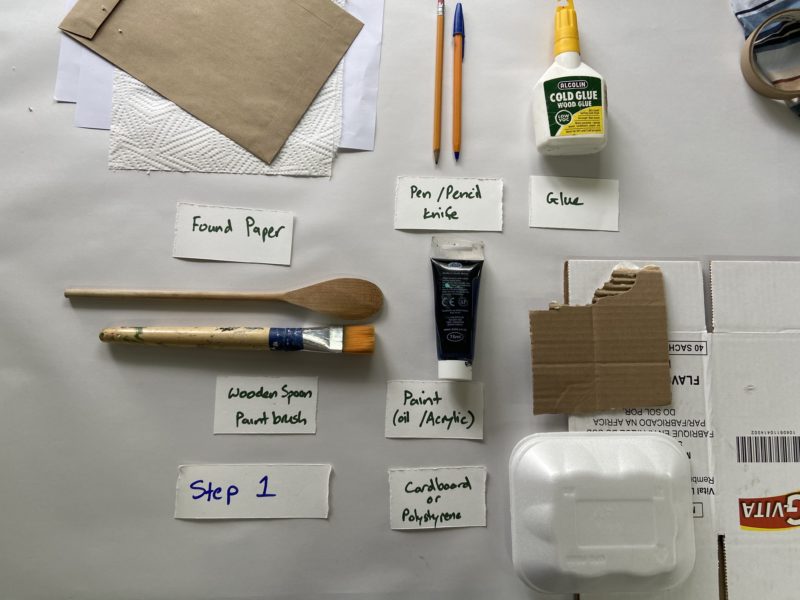
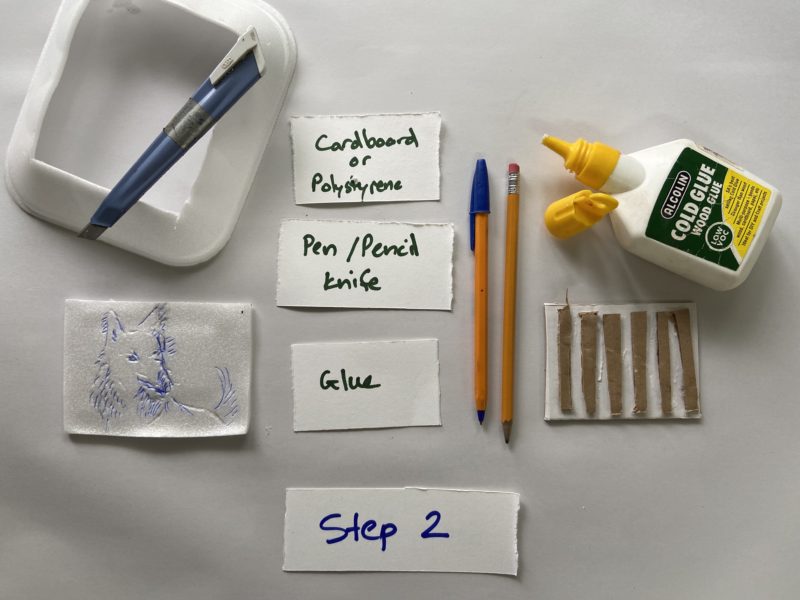
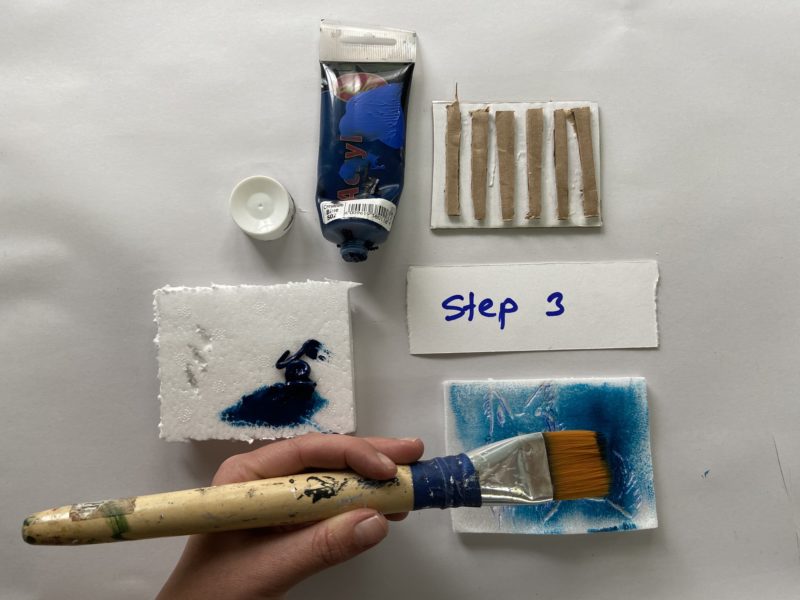
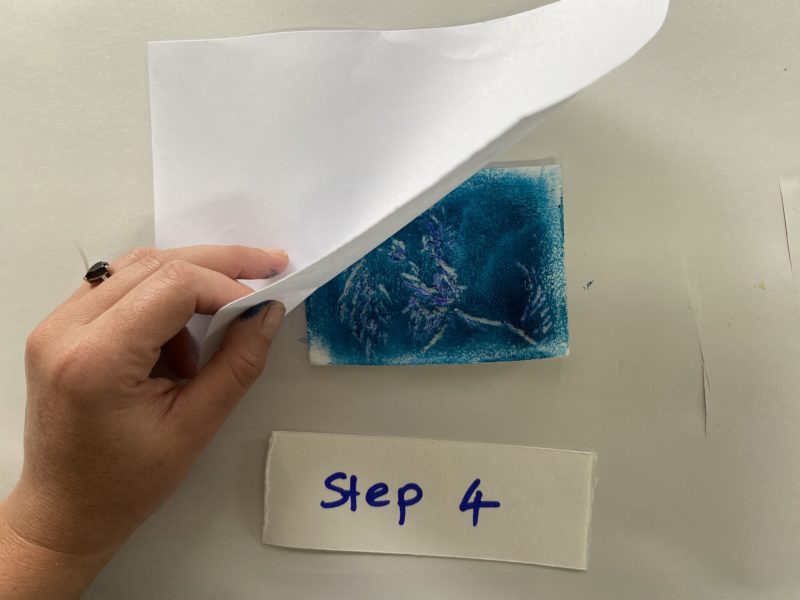
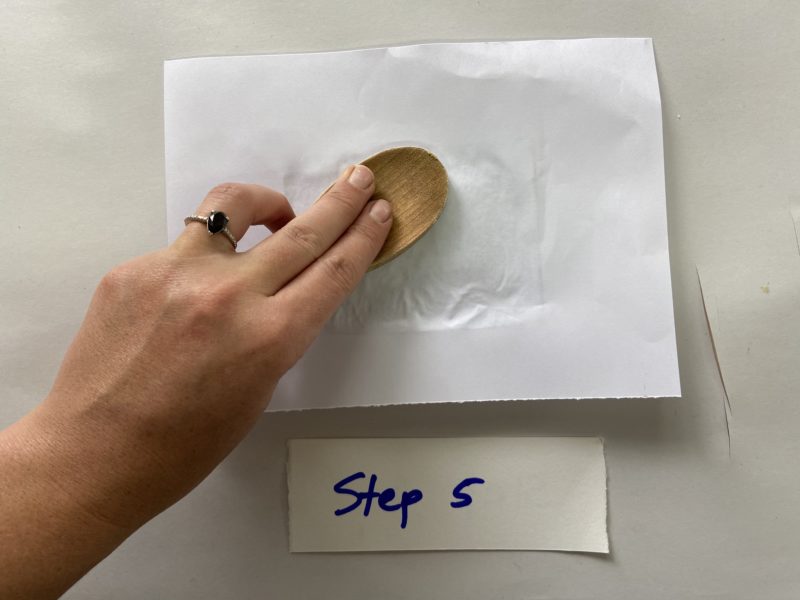
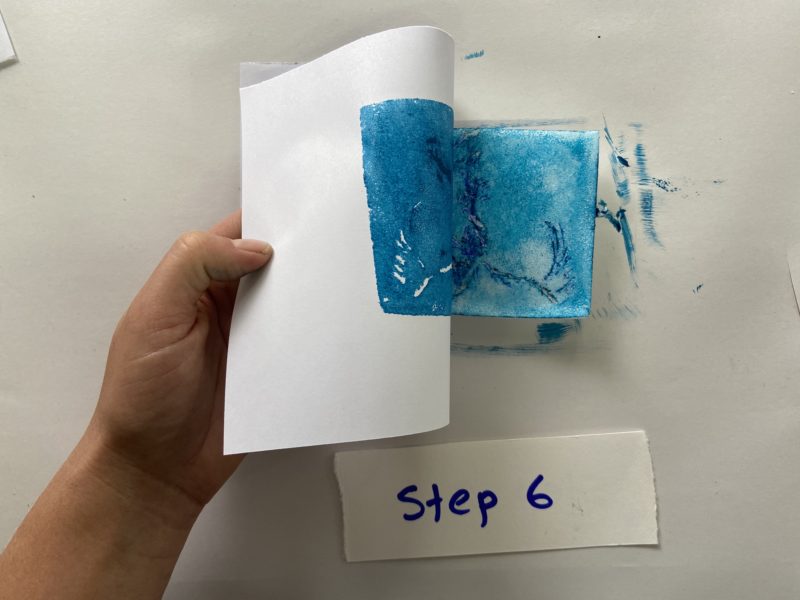
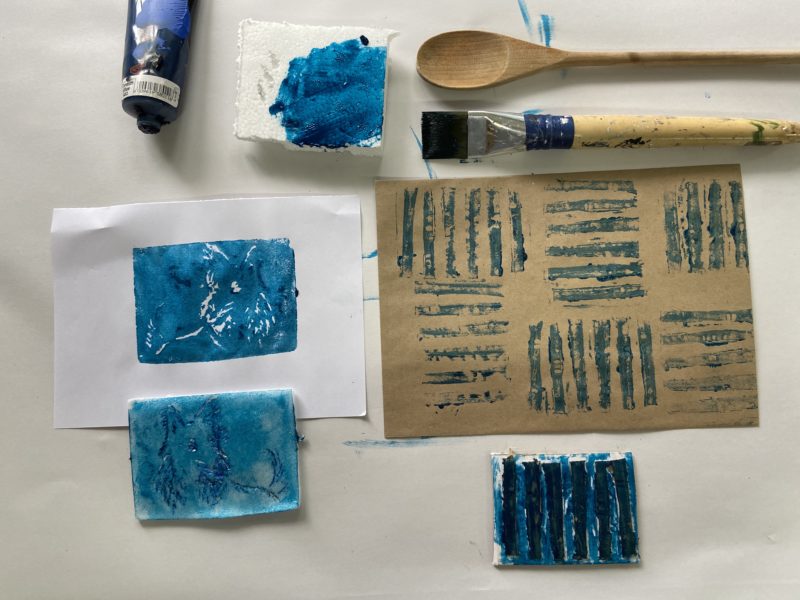
On Thursday, 2 April, Printer Chad Cordeiro gave an introduction to relief printing from his home studio – watch his video demo here. Follow the 6 simple steps to try out the technique of relief print at home. 

We’d love to see your prints! Share your print on social media and tag @davidkrutprojects in your post.  

Step 1 – Gather your materials 
Step 2 – Draw your image into the polystyrene tray (I used a mushroom tray) AND/OR cut up shapes and glue onto cardboard 
Step 3 – Using a brush apply a thin layer of paint to your tray or glued items. If using water-based paint note that it dries fast so be sure to complete steps 4 – 6 relatively quickly. 
Step 4 – Place paper on top 
Step 5 – Rub the paper firmly and evenly with the back of your wooden spoon 
Step 6 – Lift the paper to reveal print (with water based paint don’t leave this step too long or it will tear your paper!) 
Result – wherever you made a mark it will remain white. Also note how the image is backwards!

Have fun and stay safe at home!

Subscribe to our mailing list

* indicates required

/( mm / dd )

Intuit Mailchimp